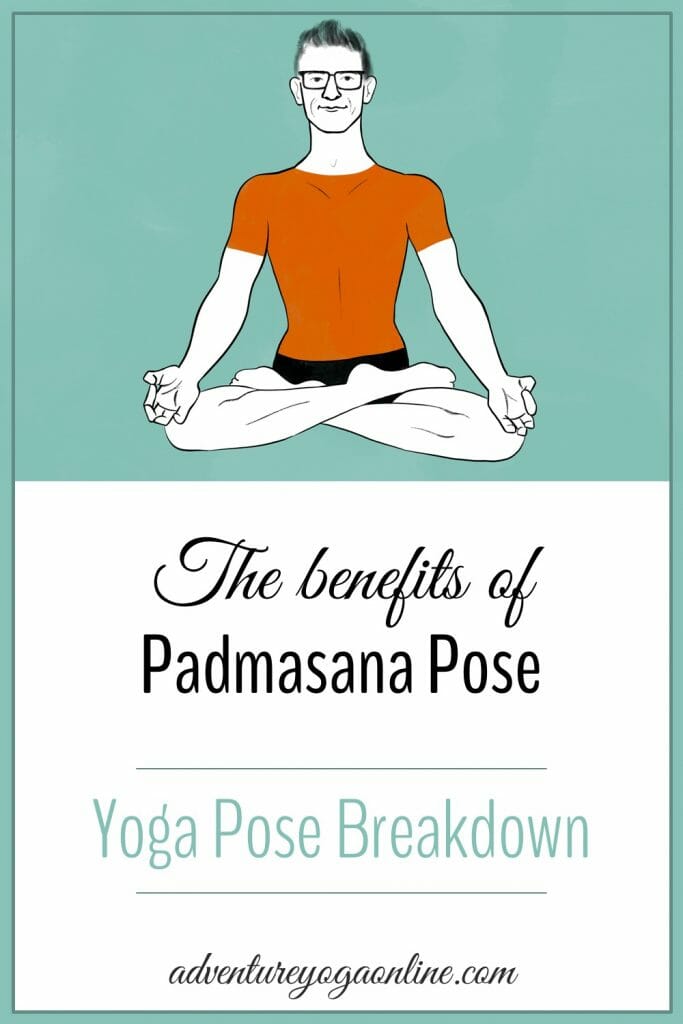
Want to learn more about Padmasana, aka Lotus Pose? In this post, I share the benefits of Padmasana, a complete pose breakdown, contraindications, myths, modifications and more.

In my first teacher training, with Darren Rhodes and Christina Sell, one of our sessions was a 90-minute sequence to prepare us for Padmasana. Until then, I had thought this pose was easy. Darren came over to me during class and asked me if I had ever done the pose before. I had, plenty of times. But, as I told Darren, “This is the first time I’ve ever done it properly.”
It was a revelation to learn how to practice Lotus Pose effectively and safely, and it’s one of those lessons I will always carry with me.
Padmasana is often recommended for meditation but for most people that’s just not practical. Lotus Pose is very advanced asana and I recommend taking your time with this pose before deciding to try and meditate while sitting in it!
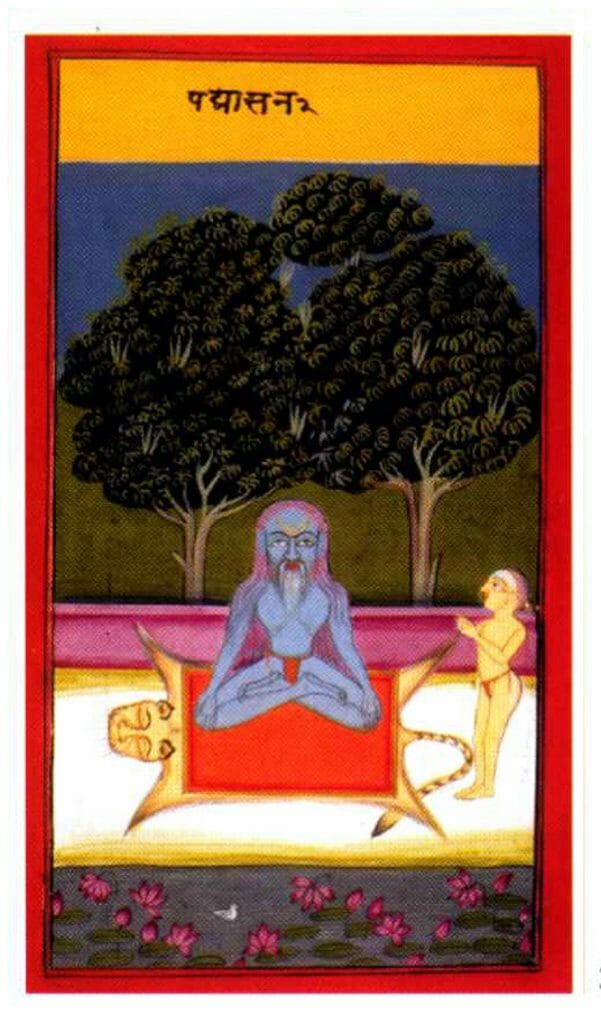
Padmasana is one of 8 poses described in the Darshana Upanishad, a minor Upanishad text written around the 300 CE. It is also one of 4 seated poses described as “the most important ones” in the Hatha Yoga Pradipika, a 15th-century text that is considered one of the 3 main texts of Hatha Yoga.
This article may contain affiliate / compensated links. For full information, please see our disclaimer here.
Padmasana Quick Facts
| Sanskrit | Padmasana |
| English | Lotus Pose |
| Pronunciation | pahd–MAH–sah-nuh |
| Meaning | Padma means lotus. Asana is a pose or posture. Padmasana, therefore, means Lotus Pose. |
Padmasana Benefits
Note: I only include the scientifically supported benefits of Lotus Pose here. Plenty of claims about other supposed benefits (from the plausible to the magical to the ridiculous) have been made. To me, pseudo-scientific claims only serve to harm the yoga community, so I choose not to give them airtime here.
When performed with proper alignment, the most common benefits of Padmasana are:
- Increased flexibility in your hip flexors and ankles.
- Strengthening your gluteus maximus, sartorius and the Deep Six external rotators.
- Stretching your adductor muscles of your legs (muscles that help squeeze your legs together).
- Building strength in your back extensors (erector spinae).
If you want more on the benefits of yoga, see our complete guide to the benefits of yoga, which includes a history of yoga plus the origins of our modern yoga practice and much more.
Precautions & Contraindications
No one should ever force their knee joint beyond its capabilities just to “get” this pose. Remember that while yoga is for everyone, not all poses are for all people!
There are certain conditions and injuries with which this pose is best avoided, or performed with extreme care:
- If you have a knee injury or have had knee surgery, be very careful with this pose. It may best be avoided.
- If you have a meniscus tear, this pose can be painful, or impossible, to practice.
- If you have an injury in your foot, ankle or calf muscles, this pose may not be appropriate.
- Can increase sciatica. While the pose may look balanced there is actually a slight twist and tilt to it, so SI joint imbalance can be exacerbated.
Padmasana Pose Breakdown
How to do Padmasana or Lotus Pose
- Sit in Dandasana (Staff Pose). If your lower back rounds in Dandasana, sit on a folded blanket so that you can bring a gentle curve to your lower back.
- Externally rotate your right thigh (turn your leg out) and bend your right knee, pointing it out to the side.
- Bring your right foot in towards your left leg (like a seated Vrksasana / Tree Pose or like Janu Sirsasana). Keep your right knee low to, or even on, the ground.
- Place your right hand on your right thigh to keep it heavy (do not apply a lot of pressure), lean your torso and weight to the right, and pick up your right foot with your left hand.
- Place your right foot on your left thigh.
- Move your right knee towards the centre of your mat as you slide your right foot up to your left hip crease.
- Spread your toes and work to keep your ankle straight (although it will likely sickle a bit). You are now in Ardha Padmasana, or Half Lotus.
- Externally rotate your left thigh and lean forward and reach for your left shin to help you bend your left knee.
- Point your knee out to the side and bring your left foot near your right shin. Keep your left knee low to, or on, the ground.
- Place your left hand on your left thigh to keep it heavy (do not apply a lot of pressure), lean your torso and weight to the left, and pick up your left foot with your right hand.
- Move your left knee to the right and slide your left foot up onto your right hip crease. Spread your toes and work to keep your ankle straight (although it will likely sickle a bit).
- Sit up tall, engage your feet, draw your knees in, and gaze forward.
- This is Padmasana, or Lotus Pose.
- Come out of the pose if you feel any knee pain.
- Exit as your entered.
- Dandasana (Staff Pose) is a good counter-pose to Padmasana.
Don’t forget to practice Lotus Pose on both sides. You’ll likely have one side that feels “natural” and the other side that feels awkward. To develop balance in the pose, practice both sides equally.
Modifications & Variations
If you’re new to (or uncomfortable in) the pose:
- Ardha Padmasana, or Half Lotus, is more accessible that the full version of the pose. It is not recommended to attempt Padmasana until you can do Ardha Padmasana with your knee on the ground. Work through the steps above up to and including Step 7 to come into Half Lotus.
- If your hips are tight or if you are experiencing pain in your knees, do not lift your top foot over your shin. Instead rest it on your shin, or on the ground in front of your opposite foot.
If you have tight hip flexors and your knees are off the ground:
- Placing yoga blocks or yoga blankets under your knees can relieve pressure on your knees and help you release your hip flexors.
If you feel ankle pressure:
- Placing yoga blocks under your knees can relieve pressure on your ankles.
To help align your pelvis:
- Sit on a yoga blanket to lift your pelvis and help you find proper alignment in your pelvis and spine (neutral pelvis, natural curves of spine).

Poses Related to Lotus Pose
Preparatory Poses
- Bharadvajasana / Bharadvaja’s Pose
- Virasana / Hero Pose
- Supta Virasana / Reclined Hero Pose
- Gomukhasana / Cow Face Pose
- Garudasana / Eagle Pose
- Bhujangasana / Cobra Pose
- Ardha Padmasana / Half Lotus
- Baddha Konasana / Cobbler’s Pose
- Dandasana / Staff Pose
- Sukhasana / Comfortable Pose
- Siddhasana / Accomplished Pose
- Janu Sirsasana / Forehead to Knee Pose
- Prasarita Padottanasana / Wide-Leg Forward Fold
- Vrksasana / Tree Pose
- Upavista Konasana / Wide-Angle Seated Forward Fold Pose
Follow-up Poses
- Dandasana / Staff Pose
- Paschimottanasana / Seated Forward Fold
- Savasana / Corpse Pose
- Setu Bandha Sarvangasana / Bridge Pose
Poses to Take Your Practice Further
- Urdhva Kukkutasana / Elevated Rooster Pose
- Kukkutasana / Rooster Pose
- Ardha Baddha Padma Paschimottanasana / Half Bound Lotus in Intense Stretch of the West Pose
Related Posts & Videos
- Post: Bhujangasana Pose Benefits & Breakdown
- Post: Siddhasana Pose Benefits & Breakdown
- Video: Padmasana Pose Breakdown
Gear & Resources for this Pose
- BKS Iyengar’s Light on Yoga
- Darren Rhodes Yoga Resource Practice Manual
- Yoloha Cork Yoga Mat with plant-based foam
- Yoloha Cork Yoga Blocks
- Machine Washable Vegan Yoga Blankets
Save 10% on cork yoga gear
- Use our code AYO10 at checkout for 10% off all Yoloha yoga mats & gear.
Good for the planet and great for your practice!
A Final Note About Lotus Pose
Despite some texts saying this is one of the 4 most important poses, and some gurus claiming that if you can sit in Padmasana for several hours at a time, you will fully cleanse your body and mind, I encourage you to approach this pose with caution.
Some days I feel perfectly content practicing Lotus Pose. However, some days my knees just say “no”, and I need to listen to them, or I pay the price with every step I take for several days afterwards. It is important to learn to listen to your body and to respect what it tells you.
Doing a yoga pose doesn’t make you enlightened, nor will it fully cleanse your mind and body. By practicing poses with awareness of how they make you feel and noticing the differences in your body from day to day, you will become more mindful of how you are and who you are as you make your way through the ever-changing adventure of life.
See you on (and off) the ice OMies, Stephen ![]()
I hope this post has been helpful in expanding your possibilities with Lotus Pose. It’s my goal to inspire you to explore your yoga practice more deeply while enabling you to cultivate the strength and clarity needed to live your life adventure to the fullest!