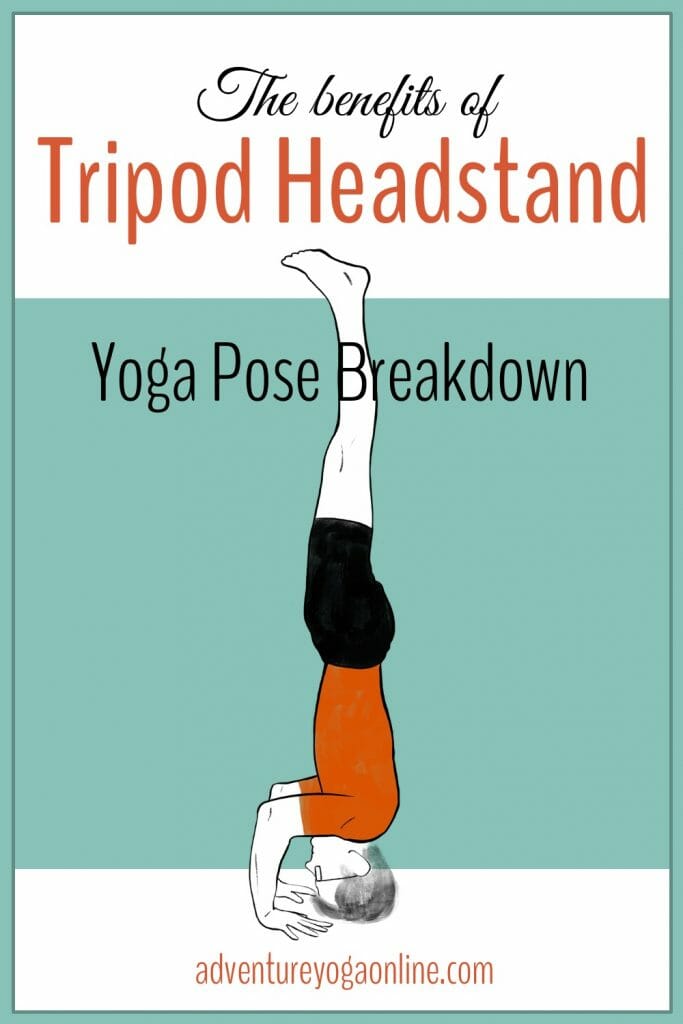
Want to learn more about Tripod Headstand, aka Sirsasana 2? In this post, I share the benefits of Tripod Headstand, a complete pose breakdown, contraindications, myths, modifications and more.
Many of the yoga studios in Bali, where I am as a I write this, are open-air, with no walls in the yoga shalas. This makes teaching inversions in my classes challenging. Why? Because one of the biggest fears students have when learning inversions is the fear of falling — walls help take this fear away.
I love helping students learn how to go upside down, but without walls, and with a room filled with tourists, I find I am often leaving inversions off the class plan. I know how intimidating it can be to do partner work.
Are you really going to trust that a stranger won’t let you fall? Instead of being comforting, partner work can make the fear of falling even more intense.
To overcome the fear, learn to support yourself in the pose by practicing at home. In the Modifications section below I offer advice on how to use a wall, the corner of a room, yoga blocks, or even a headstand stool (there really is such a thing!) to help you learn how to safely invert.
(You’ll also need a strong core — but fortunately for you I have a core-focused class on YouTube just waiting for you.)
There’s a lot of fun to be had with Tripod Headstand (Sirsasana 2), once you have the general pose in your yoga tool belt. Unlike Sirsasana 1, Tripod Headstand is not meant to be held for a long time. Instead, Sirsasana 2 is a gateway to lots of challenging transitions like:
- Sirsasana 2 to Eka Pada Koundinyasana 1
- Eka Pada Koundinyasana 2 to Sirsasana 2 to Urdhva Kukkutasana
- Sirasana 2 into Sirsasana 3 and then floating down into Mayurasana
To get to the stage where you can play with Tripod Headstand transitions, start with learning the form and alignment using the yoga pose breakdown below.
This article may contain affiliate / compensated links. For full information, please see our disclaimer here.
Tripod Headstand Quick Facts
| Sanskrit | Sirsasana 2 / Shirsasana 2 / Shalamba Sirsasana 2 |
| English | Tripod Headstand |
| Pronunciation | shah-LUM-bah sheer-SHAH-sah-nuh |
| Meaning | Sa (pronounced sha) means together with or accompanied by. Alamba means a prop or a support. Shalamba means supported or with support. Sirsa means head. Full name translates as Supported Headstand 2. Commonly known as Tripod Headstand. |
Tripod Headstand Benefits
Note: I only include the scientifically supported benefits of Tripod Headstand here. Plenty of claims about other supposed benefits (from the plausible to the magical to the ridiculous) have been made. To me, pseudo-scientific claims only serve to harm the yoga community, so I choose not to give them airtime here.
When performed with proper alignment, the most common benefits of Tripod Headstand are:
- Strengthens the supporting muscles of your spine, shoulders and neck.
- Improves overall balance.
- Tones abdominal muscles (aka your core).
- Strengthens your erector spinae (back) and shoulders
- Strengthens your legs — primarily your quads and adductors adductors
- Clears sinuses in some students.
- Can relieve headaches in some students.
- Is reported to relieve some neck injuries and realign the vertebral column.
- Strengthens your arms — particularly your triceps and biceps.
If you want more on the benefits of yoga, see our complete guide to the benefits of yoga, which includes a history of yoga plus the origins of our modern yoga practice and much more.
Misconceptions & Myths About Sirsasana 2
Inversions and the lymphatic system
Despite what you may read, inversions do not cleanse your lymphatic system. The lymphatic system filters bacteria, abnormal cells, etc from your blood, and sends the clean fluid back towards your heart. The direction of flow in your lymphatic system cannot be reversed.
Inversions and menstruation
It is often repeated by yoga teachers, and in yoga texts, that women should never do an inversion when they are menstruating. Usually, the teacher doesn’t give a reason or any kind of explanation.
There are lots of theories floating around, including ideas involving “reversal of menstrual flow”, “bad blood”, endometriosis, apana, and more. None of it stands up under scrutiny.
If you don’t want to invert when menstruating, that’s up to you. If you want to, that’s also up to you. Inverting, just like everything else in yoga, is a choice. It’s your choice.
Precautions & Contraindications
Tripod Headstand should also be avoided by people with:
- high blood pressure
- heart palpitations
- glaucoma and other eye problems
- hiatus hernia
- cervical spine instability
Consult your doctor before practicing Tripod Headstand if:
- You have back or neck injuries.
- You have a heart condition.
Proceed with caution if:
- You get headaches regularly. Sirsasana 2 can help reduce headaches but it can also make them worse.
- You are pregnant. If you have a regular practice of headstand you can continue this pose as late into your pregnancy as you feel comfortable. However, it is not recommended for pregnant women who are new to the pose.
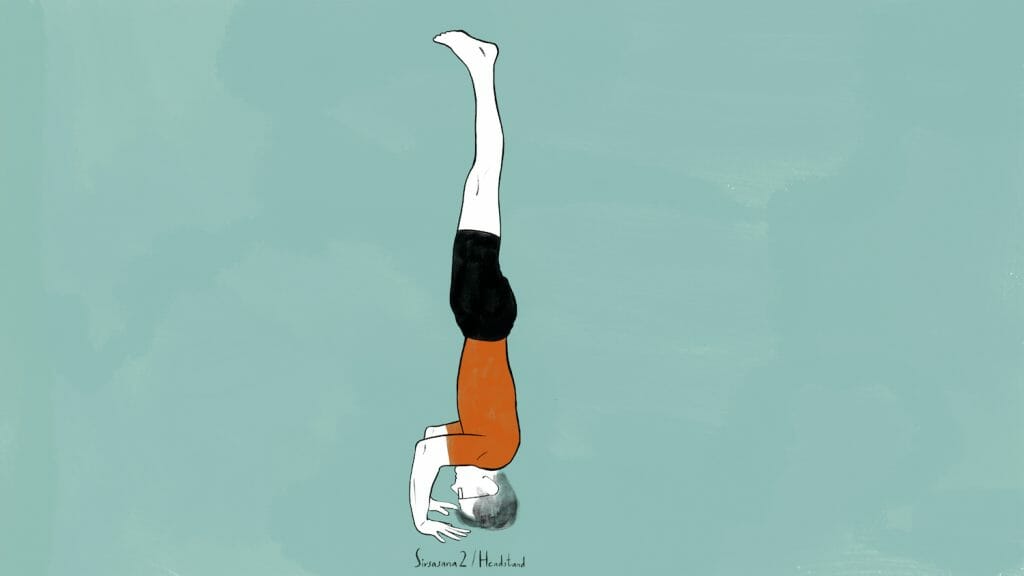
Tripod Headstand Pose Breakdown
How to do Sirsasana 2 / Tripod Headstand
- Start on all fours (Bharmanasana). Place your hands flat on the ground so the middle of your wrists are shoulder distance apart.
- Place the top of your head on the ground so that the crown of your head is as far away from the centre point of each wrist as your wrists are away from each other. The crown of your head and the centre of your wrists make the three points of an equilateral triangle (all sides of the triangle are the same length).
- Tuck your toes and lift your knees to straighten your legs.
- Walk your feet in until your hips are over your shoulders. Take care to lengthen your spine and work to keep it straight.
- Hug your elbows in until they point straight back, then gently move your elbows towards the top of your mat and lift your shoulders away from your ears to stabilize your shoulders.
- Push down through your left hand and left foot. Bend your right knee, turn it out and bring the knee to rest on your upper arm. Push your knee down into your arm, and hug your arm in to create stability.
- With your left leg use your toes/foot to roll onto your tiptoes and lift your hips over your shoulders.
- Bend your left knee, turn it out and bring the knee to rest on your upper arm. Push your left knee down into your arm and hug your elbow in to create stability.
- Keep your knees bent and bring them off your arms. Then bring them together to touch.
- Squeeze your thighs towards each other and pull your heels towards your buttocks.
- Keep your knees bent and your heels towards your buttocks, but stretch your knees up toward the ceiling.
- Squeeze your thighs towards each other. Straighten your legs up towards the ceiling.
- Press the inner edges of your feet together and squeeze your legs together. Make your legs like one leg.
- Floint your feet (this is a yoga term that means halfway between flexed and pointed, aka Barbie feet). Spread your toes.
- Steady your breath, soften your gaze.
- This is Tripod Headstand, or Sirsasana 2.
- To come down, exit as your entered: bring your heels to your buttocks, stretching your knees up, then curl your belly in to bring your knees onto your arms, place your feet on the ground, walk your feet out.
- Come into Balasana (Child’s Pose) to rest for a moment before sitting up.
It is recommended to not hold Tripod Headstand for more than 30 seconds at a time.
Note: Once you are comfortable going up in this way you can begin to practice lifting your legs up straight and hugging towards each other. This is a more advanced entry, and takes focus, practice, and patience.
Sirsasana 2 image from Ramanandi Jayatarama’s Joga Pradīpikā, 1737.
Modifications & Variations
If you’re new to the pose:
- The simplest modification is to keep your feet on the ground. Working to lengthen your hamstrings and strengthen your back can take a lot of work, so don’t be in a rush to bring your feet off the ground.
If your back rounds:
- If your back rounds as you walk your feet in to prepare to go up in this pose, do not go up. Instead, work to strengthen your back (your erector spinae muscles particularly) so that you can keep your back straight and long before you lift your legs.
- Place yoga blocks under your feet. This will help lift your hips up and forward (closer to over your shoulders) while keeping your back straight, which make accessing the pose easier.
One foot off the ground:
- If you are feeling adventurous you can start by bringing one foot off the ground, and using the other foot to roll onto your tip-toes. This helps move your hips over your shoulders more, which is essential for this pose. Then switch sides.
If the top of your head hurts:
- If practicing Headstand hurts the top of your head you can double your mat up, or place a yoga blanket on your mat (but do not fold the blanket too thick as this can make your head/neck unstable).
If your elbows keep moving wide:
- You can add a yoga strap around your upper arms when you are learning to hold your headstand. This has the advantage of preventing your elbows from going wider than your shoulders.
- It is worth noting that it can be awkward to get into and out of the pose with a strap around your upper arms, and it can teach you to press out into the strap, instead of engaging your arms and shoulders to hold the form.
Use the wall for support:
- Practice headstand in the corner of a room and use the two walls of the corner to support your shoulders and help prevent excessive rounding of your back (a common misalignment when you are new to this pose). Also, the support of the wall gives you more confidence to lift your feet and legs up.
- When practicing in the corner of a room, or at the wall, have your head roughly 2–3 inches away from the corner. Any more than this will lead to excessive rounding of the back, which can cause you to roll towards the back of your head, putting unwanted pressure on the back our your cervical spine (neck).
- Place a yoga bolster between you and the wall to help keep your spine straight.
Use the wall to come down:
- When practicing at a corner or against a wall, you can use the support of the wall to practice coming down with your legs together and straight. Once you have learned how to come down with control, you can begin practicing going up with your legs together and straight.
Use props:
- You can place yoga blocks under your shoulders to support then and give you an extra place to press into. A FeetUp headstand yoga stool is also useful for learning to do Tripod Headstand.

Poses Related to Sirsasana 2
Preparatory Poses for Tripod Headstand
- Adho Mukha Svanasana / Downward Dog Pose
- Salabhasana / Locust Pose
- Ustrasana / Camel Pose
- Indudalasana / Crescent Pose
- Uttanasana / Forward Fold
- Virasana / Hero’s Pose
- Viparita Karani / Legs Up The Wall Pose
- Prasarita Padottanasana / Wide-Leg Forward Fold
- Paschimottanasana / Seated Forward Fold
- Hanumanasana / Full Splits
Follow-up Poses
Poses to Take Your Practice Further
- The Sirsasana Cycle (see Light on Yoga)
- Pincha Mayurasana / Feathered Peacock Pose or Forearm Stand
- Headstand variations like Sirsasana 3, Sirsasana 4, Eka Pada Sirsanasa, etc.
- Bakasana / Crane Pose
- Kakasana / Crow Pose
- Eka Pada Galavasana / One Leg Pose of Galava (aka Flying Pigeon)
- Urdhva Kukkutasana / Elevated Rooster Pose
- Mayurasana / Peacock Pose
Related Posts & Videos
- Post: Sirsasana Pose Benefits & Breakdown
- Post: Padmasana Pose Benefits & Breakdown
- Video: Tripod Headstand Pose Breakdown
Gear & Resources for this Pose
- BKS Iyengar’s Light on Yoga
- Darren Rhodes Yoga Resource Practice Manual
- Yoloha Cork Yoga Mat with plant-based foam
- Yoloha Cork Yoga Blocks
- Organic Cotton Yoga Straps
- Organic Cotton or Hemp Yoga Bolsters
- Machine Washable Vegan Yoga Blankets
- FeetUp Trainer Headstand Yoga Stool
Save 10% on cork yoga gear
- Use our code AYO10 at checkout for 10% off all Yoloha yoga mats & gear.
Good for the planet and great for your practice!
A Final Note About Sirsasana 2
Tripod Headstand can be a challenging pose for a variety of reasons, including fear, tight hamstrings, tight or weak should muscles, and more. When practiced without alignment, it can also lead to neck injuries.
However, just like any pose, all it takes is practice (and a good teacher!). Once you have become comfortable in the general form of the pose, and have built the strength and flexibility to do it with consistency, it can lead to a series of fun and challenging transitions.
See you on (and off) the ice OMies, Stephen ![]()
I hope this post has been helpful in expanding your possibilities with Sirsasana 2. It’s my goal to inspire you to explore your yoga practice more deeply while enabling you to cultivate the strength and clarity needed to live your life adventure to the fullest!